Understanding Washer Types
Washing machines come in various types, each designed to cater to specific laundering needs. Understanding the types of washers available can help you identify the potential issues that may arise and the best approaches for washer repair. The three main types are top-load, front-load, and combination washers.
Common Washer Repair Issues
Regardless of the type, common repair issues arise that can hinder the washer’s performance. For top-load machines, issues often stem from improper loading, resulting in an unbalanced drum. Front-load washers may frequently encounter drainage problems due to clogged hoses or pumps. Additionally, any washer can experience unusual noises, leakage, or failure to start, necessitating thorough diagnostics and attention.
Top Washer Brands and Features
In the market, several brands stand out for their durability and advanced features. Brands often include those with energy-efficient models, smart technology, and specialized cycles for different fabric types. Knowing these features can be advantageous for consumers, not only in selecting a machine but also in understanding common faults linked to specific technologies.
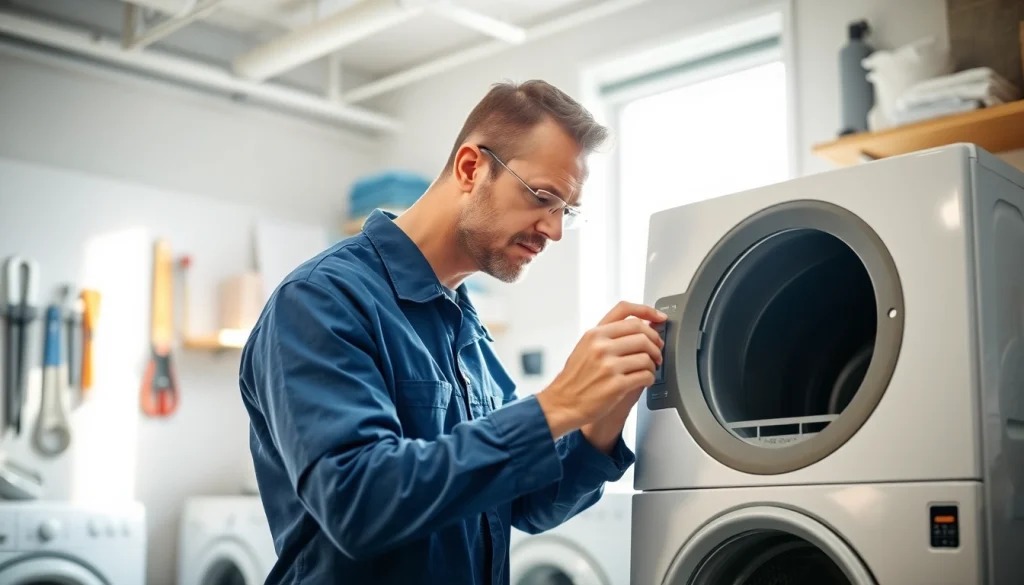
The Washer Repair Process
Repairing a washer efficiently requires a systematic approach to diagnosing and addressing issues. Understanding the washer repair process can save time, money, and frustration.
Diagnosing Problems Efficiently
The first step in any repair process is to diagnose the issue accurately. Listening to the machine’s sounds, checking for error codes, and inspecting clothing post-wash can provide valuable clues. It’s essential to note down any abnormal vibrations or cycles that fail to complete as these factors are crucial in identifying the problem.
Essential Tools for Washer Repair
Before starting any repairs, ensure you have the right tools on hand. Essential tools often include:
- Flathead and Phillips screwdrivers
- Pliers
- Tape measure
- Multimeter for electrical diagnostics
- Ratcheting wrench set for fasteners
Having these tools will facilitate the repair process, allowing you to address various issues effectively.
Step-by-Step Repair Guide
Each washer repair will differ based on the symptoms observed. However, here’s a generalized step-by-step approach:
- Unplug the Appliance: Safety is paramount, so start by disconnecting the power supply.
- Check for Error Codes: If your washer has a digital display, consult the manual for error codes and their meanings.
- Inspect the Hoses: Look for signs of leaks, kinks, or clogs that may inhibit water flow.
- Examine the Drum: Manually spin the drum to check for any obstructions or physical damage.
- Test Electrical Components: Use a multimeter to check continuity and voltage at various electrical connections.
- Replace Worn Parts: If a specific component, such as a belt or pump, is defective, replace it according to manufacturer specifications.
- Reassemble and Test: Once repairs are completed, reassemble the washer, plug it in, and conduct a test cycle.
Following these steps can assist in systematically resolving washer issues.
Safety Considerations in Washer Repair
When embarking on washer repair, safety should always be a priority. Understanding and mitigating risks can prevent accidents and injuries.
Understanding Electrical Risks
Many components within washers operate electrically, making it crucial to adhere to safety guidelines. Always unplug the washer before embarking on any repairs to avoid electric shock. Understanding wiring diagrams specific to your washer model can also help in safely navigating electrical repairs.
Proper Tool Usage and Handling
Using tools incorrectly can lead to injury or damage to the appliance. Familiarize yourself with each tool’s purpose and practice correct handling to ensure a safe work environment. Wear protective gear, such as safety glasses and gloves, especially when dealing with sharp edges or electrical components.
Common Safety Mistakes to Avoid
Avoiding common pitfalls during repairs is as critical as executing them correctly. Some mistakes include:
- Neglecting to disconnect power before starting repairs.
- Rushing through diagnostic steps.
- Forgetting to take notes on disassembly, making reassembly difficult.
- Using inappropriate tools for the job.
Awareness of these mistakes can promote a safer, more efficient repair process.
Cost Analysis of Washer Repair
Understanding the costs involved in washer repair enables informed decisions about whether to repair or replace a unit.
Average Repair Costs
The costs associated with repairs can vary widely based on the problem and location. Generally, minor repairs, such as replacing a door latch or pump, can range from $75 to $200. More significant repairs, like fixing the motor or control board, may exceed $400. Budgeting for these potential costs can provide better clarity on financial commitments required.
When to Repair vs. Replace
Assessing whether to repair or replace a washer involves consideration of several key factors:
- Age of the washer: A machine over ten years old may be better to replace.
- Repair costs vs. replacement costs: If repairs exceed half the cost of a new washer, replacement may be wiser.
- Frequency of repairs: If a washer is needing frequent repairs, it may indicate a larger issue.
Understanding these factors can guide you toward the right decision.
Finding Affordable Parts Online
For those opting to repair, sourcing affordable parts can lead to substantial savings. Many online marketplaces specialize in appliance parts, providing a wide selection at competitive prices. Make sure to verify compatibility with your specific washer model to ensure proper fit and functionality.
Maximizing Washing Machine Lifespan
To ensure your washer operates efficiently for as long as possible, implementing certain practices can be beneficial.
Best Practices for Daily Use
Routine usage of your washer can greatly affect its lifespan. Here are best practices:
- Avoid overloading the drum to prevent strain on the motor and drum bearings.
- Use the appropriate detergent type and amount for your washer model.
- Regularly clean the washer drum and dispensers to prevent soap buildup.
- Keep the area around the washer clear of hazards to ensure proper airflow and prevent overheating.
These practices can significantly extend the life of your washing machine.
Signs Your Washer Needs Immediate Attention
It is vital to be aware of the signs that indicate your washer requires immediate repair. Signs to look for include:
- Unusual noises during operation.
- Water pooling around the machine or visible leaks.
- Drum failing to spin or agitate effectively.
- Unresponsive controls or failure to start.
Addressing these issues promptly can prevent more significant problems down the line.
Environmental Benefits of Efficient Repair
Choosing to repair your washer rather than replace it does not only benefit your wallet but also the environment. Reducing the frequency of appliance disposal minimizes landfill waste and the resources required for manufacturing new machines. Moreover, efficient repairs help in conserving water and energy, contributing to a more sustainable lifestyle.