Understanding the Basics of Camera Stabilizers
What is a Camera Stabilizer?
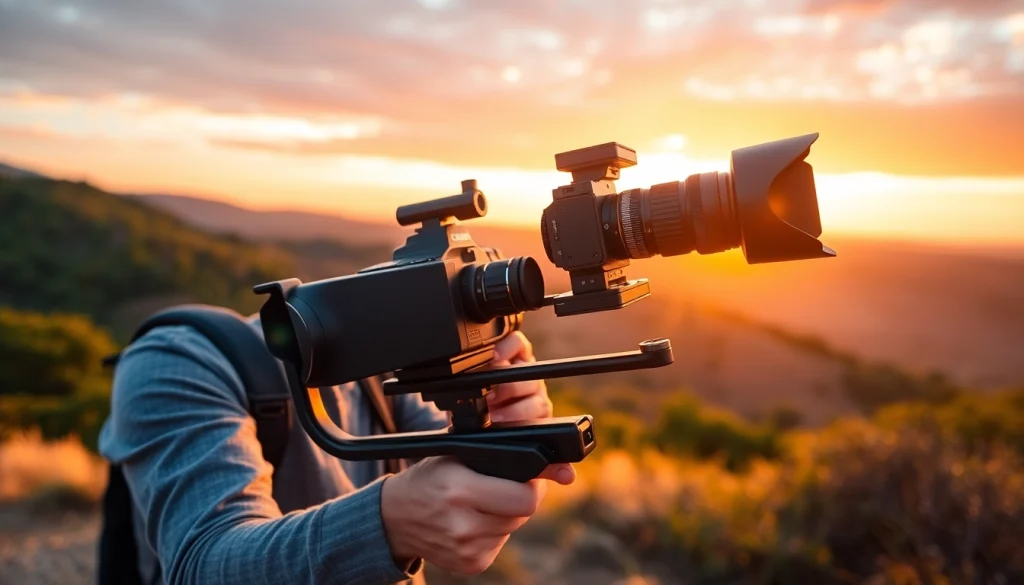
A camera stabilizer, or stabilizing mount, is a device specifically engineered to hold a camera steadily, compensating for unwanted movements that might interfere with the quality of footage. Whether you’re filming in an urban setting while navigating through busy streets or capturing scenic landscapes while hiking, a camera stabilizer acts as a crucial tool for those involved in videography and filmmaking. This technology becomes indispensable to create smooth footage that appeals to viewers and enhances the storytelling aspect of video content. A well-crafted Camera Stabilizer ensures that slight tremors due to handshakes or rapid movements do not render your efforts ineffective.
Types of Camera Stabilizers Explained
Camera stabilizers come in various forms, each designed for specific shooting scenarios and user preferences. Here’s an overview of primary types:
- Handheld Stabilizers: Ideal for casual filmmakers and amateurs, handheld stabilizers are lightweight and easy to use, making them perfect for spontaneous shooting scenarios. They often use a single handle with a counterweight to balance the camera’s weight.
- Gimbals: These advanced stabilizers use motors and software to provide high-level stabilization. Available in 2-axis and 3-axis configurations, gimbals can adapt to multiple camera movements, including pans and tilts while allowing for dynamic camera angles.
- Body-Mounted Stabilizers: Designed for professionals, body-mounted stabilizers distribute weight evenly across the user’s body, enabling longer shooting periods without fatigue. These systems often integrate advanced stabilization technologies.
- Tripod/Monopod with Stabilizer: A hybrid solution that combines the stability of a tripod or monopod with the flexibility of stabilization features. This type provides firm grounding while allowing some mobility.
How Camera Stabilizers Work
The mechanics of camera stabilizers can vary significantly depending on the type, but the core principles remain similar. Most stabilizers use a combination of a mechanical structure and gyroscopic sensors to detect movement. When the camera experiences sudden shifts, the stabilizer counteracts these movements in real-time, ensuring that the framing remains stable. For instance, 3-axis gimbals monitor pitch, yaw, and roll using built-in algorithms while motors make adjustments to maintain a level footage.
Benefits of Using a Camera Stabilizer
Improved Video Quality
The most noticeable advantage of using a camera stabilizer is the significant improvement in video quality. Handheld footage can often suffer from shake — a problem that becomes even more pronounced during dynamic activities. A stabilizer eradicates these unwanted movements, allowing for smoother, more professional-looking shots that captivate the audience and keep them engaged.
Increased Creativity and Flexibility
With a camera stabilizer, videographers gain the freedom to explore various angles and movements without compromising shot quality. Dynamic shots, like tracking, panning, and unique angles, become easier and more fluid, significantly enhancing creativity. Filmmakers can capture storytelling elements with greater visual appeal, making their content more lively and appealing.
Enhanced Professionalism in Filmmaking
In an industry where quality matters, the distinction of using a camera stabilizer contributes to a more professional outcome. Viewers are more likely to perceive footage as polished and well-thought-out when it flows effortlessly, which can enhance the credibility of independent filmmakers and content creators alike. Great footage can also open doors to higher-quality platforms or clients and present opportunities for collaborations.
Choosing the Right Camera Stabilizer for Your Needs
Consider Your Camera Type
One of the first considerations when selecting a camera stabilizer is the type and size of your camera. DSLRs and mirrorless cameras differ significantly in weight and dimensions, impacting the design of stabilizers. Some stabilizers can only accommodate specific brands or models, so knowing the physical attributes and weight of your camera before selecting a stabilizer ensures compatibility. Additionally, heavier cameras will require stabilizers that can handle more payload without losing effectiveness.
Assessing Stability Features
Evaluate the stabilization features available in the model you are considering. For instance, a 3-axis gimbal stabilizer provides the highest stability, allowing dynamic movement without losing quality. However, these models may come with a steeper learning curve and may not be necessary for all users, especially beginners. Assessing your usual shooting scenarios will aid in selecting a stabilizer that offers a balance between ease of use and advanced stability.
Portability and Ease of Use
If you plan on using your camera stabilizer in various locations or situations, consider its weight and folding capabilities. Lightweight and portable stabilizers are crucial for travel, while a more extensive setup may offer enhanced features for professional shoots. A user-friendly stabilizer is also paramount; consider functions such as quick release plates, intuitive controls, and battery life, as these aspects can make using the stabilizer more enjoyable and efficient.
Best Practices for Operating a Camera Stabilizer
Calibrating Your Camera Stabilizer for Optimal Performance
Before filming, it’s essential to calibrate your camera stabilizer. Each stabilizer has specific calibration techniques, but generally, you’ll want to ensure that your camera is correctly balanced on the stabilizer. Balancing involves adjusting the camera’s position until it stays perfectly level when the stabilizer is powered off. This process minimizes any motor strain and enhances performance during recording. Follow the manufacturer’s instructions for calibration to ensure optimized performance.
Techniques for Smooth Shots
Achieving seamless shots with a camera stabilizer requires practice and technique. Here are some effective techniques:
- Walking Techniques: When moving with a stabilizer, adopt a smooth, fluid walking style, almost like a glide. Bending your knees can absorb shock that can transmit to the stabilizer.
- Using a Weight Shift: Shift your weight smoothly in the direction you’re moving to facilitate fluid transitions. It allows for more natural movements that a gimbal or stabilizer can smoothly capture.
- Practice Different Movements: Experiment with various movements and paths during practice sessions. Focus on linear, circular, and diagonal paths to master the full shooting potential of your stabilizer.
Common Mistakes to Avoid
Even experienced users may fall prey to common pitfalls. Here are some mistakes to avoid:
- Over-tightening the Gimbal: It can lead to uneven tension and poor performance. Always ensure settings are delicately adjusted for smooth operation.
- If Not Calibrated Correctly: Failing to properly calibrate can lead to jittery footage, so make it a habit to calibrate every time you set up.
- Neglecting to Monitor Battery Life: Run-outs can happen at the worst possible moment. Always check battery life to avoid unexpected disruptions during critical shooting periods.
Advanced Techniques with Camera Stabilizers
Using Gimbals for Dynamic Movement
Gimbals are particularly effective for capturing dynamic movements, such as running or following moving subjects. Advanced gimbals can incorporate various modes, such as follow mode or lock mode, enabling you to capture different types of dynamic footage. Taking advantage of these modes can help you achieve visually striking results through inventive motion while maintaining stability.
Enhancing Your Shots with Accessories
Beyond the basic stabilizer, numerous accessories can enhance your filming experience. A slider, for example, adds creative movement alongside the stabilizer’s functionality. A lens filter can improve lighting conditions, while external microphones can significantly enhance audio quality, making your productions more professional.
Analyzing Footage for Improvement
Post-production is just as critical as filming, so make it a point to analyze your footage critically. Look for moments of instability or awkward movements and identify areas for improvement. You might find that certain techniques or styles don’t yield the results you initially expected. Learning from each experience will sharpen your skill set and improve every subsequent shoot.