Understanding Vapor Barrier Installation
What is Vapor Barrier Installation?
Vapor barrier installation refers to the process of applying a moisture-resistant membrane in areas, particularly basements, to prevent moisture from penetrating through walls and floors. This barrier serves as a protective shield against vapor diffusion, ensuring that humidity is kept in check and preventing the buildup of mold, mildew, and other moisture-related issues which can affect both the structural integrity of a building and the health of its occupants. A well-executed vapor barrier installation can significantly enhance the overall living conditions in your home or building.
Importance of Vapor Barriers in Basements
Basements are inherently vulnerable to moisture due to their below-grade position. The ground surrounding a basement can contain a significant amount of water, especially during rainy seasons or snowmelt periods. Moisture can seep through walls and floors, leading to a damp environment, which may result in structural damage, destruction of personal belongings, and health risks due to mold growth. Implementing a vapor barrier is crucial as it acts proactively to mitigate these risks by blocking moisture and creating a dry and secure environment. Furthermore, vapor barriers can also contribute to energy efficiency, helping to maintain a consistent temperature and reducing heating and cooling costs.
Types of Vapor Barriers Available
There are several types of vapor barriers available on the market, each designed for specific applications and environments. The most common types include:
- Polyethylene Sheets: These are the most frequently used vapor barriers, typically 6 mil to 10 mil thick, and are affordable and straightforward to install. They are ideal for basement applications.
- Foil Barriers: These barriers consist of a layer of aluminum foil, which reflects heat and can be particularly useful in climates where humidity is a major concern.
- Spray-On Barriers: These flexible, liquid-applied products are sprayed onto surfaces and can provide a seamless vapor barrier. They are effective for irregular surfaces and tight spaces.
- Breathable Membranes: While not traditional barriers, breathable membranes allow moisture vapor to escape while preventing liquid water from entering, making them suitable for certain climates and applications.
Preparing for Installation
Assessing Your Basement Environment
Before starting the installation process, it is essential to assess your basement environment to determine the best approach for your vapor barrier. Check for any signs of existing moisture damage, such as stains on walls, peeling paint, or efflorescence (white, chalky deposits on walls). Additionally, you should evaluate the source of moisture—whether it is from groundwater, condensation, or external leaks. An inspection can help determine the level of moisture present and how to address it effectively during the installation.
Gathering Essential Tools for Vapor Barrier Installation
Having the right tools at your disposal is crucial for a successful installation. Here’s a list of essential tools you’ll need:
- Utility knife or scissors for cutting the vapor barrier material.
- Measuring tape to ensure accurate sizing of the vapor barrier.
- Staple gun or adhesive for securing the barrier in place.
- Paint roller or brush for applying adhesive if needed.
- Safety goggles and gloves to protect yourself during the installation.
- Cleaning supplies to prepare the area before installation.
Common Mistakes to Avoid During Preparation
To ensure a smooth installation process, there are common pitfalls you should avoid:
- Skipping Surface Preparation: Failing to clean and dry the installation area can lead to poor adhesion and ultimately a failed vapor barrier.
- Not Considering the Environment: Ignoring the moisture source in your basement can lead to ineffective barrier installation.
- Incorrect Material Thickness: Using a vapor barrier that is too thin may not provide adequate protection against moisture.
- Rushing the Installation: Taking your time during installation can help ensure that no details are overlooked, which can lead to barriers failing in the long run.
Step-by-Step Guide to Vapor Barrier Installation
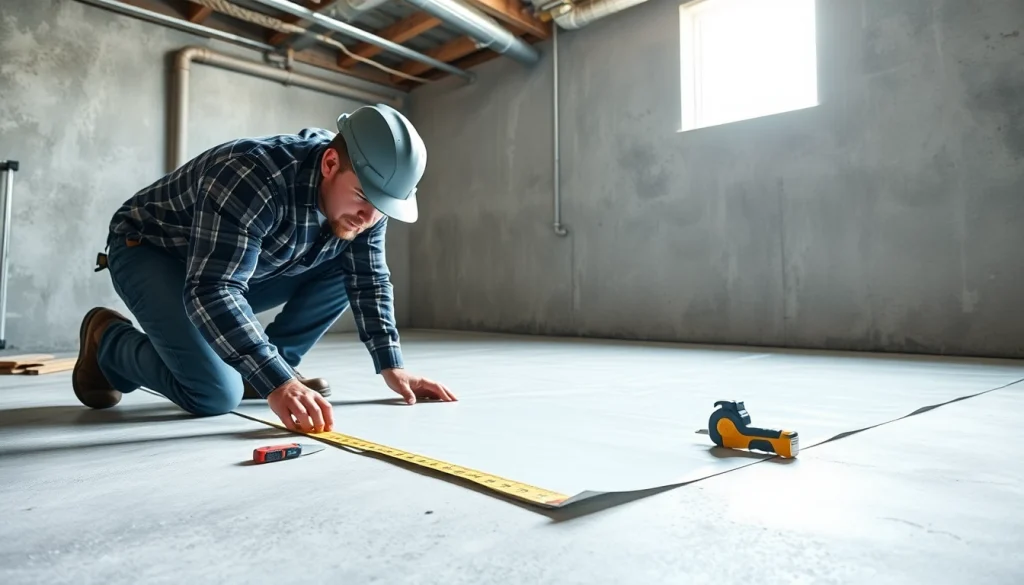
Measuring and Cutting the Vapor Barrier
Start by measuring the dimensions of the floor and walls where the vapor barrier will be installed. Once you have your measurements, transfer them onto your vapor barrier material. Cut the barrier using a utility knife or scissors, ensuring that you have a little extra material to overlap any seams or edges. This overlap is critical for creating an effective seal against moisture.
Securing the Barrier to Floors and Walls
Once you have your pieces cut, it’s time to install the vapor barrier. Begin with the flooring. Lay the vapor barrier flat across the basement floor, extending up the walls slightly. Use a staple gun or adhesive to secure it in place. Make sure to overlap the seams by at least 12 inches and seal them with tape or adhesive as specified by the manufacturer’s instructions. Continue this process on walls, ensuring that the barrier is tightly adhered without any gaps that could allow moisture ingress.
Inspecting for Gaps and Ensuring Seals
After installation, inspect all seams and edges for any potential gaps. These gaps can diminish the effectiveness of your vapor barrier, allowing moisture to seep in. At this stage, it’s important to conduct a thorough inspection to confirm that everything is adequately sealed. Use additional tape or adhesive where necessary to reinforce the seals. A clear, secure installation will ensure lasting protection against moisture.
Post-Installation Tips for Maintenance
Regular Checks and Inspections
Maintaining your vapor barrier is critical to its effectiveness. Conduct regular inspections of the barrier and surrounding areas to catch any signs of moisture before it escalates into a larger problem. Look for peeling paint, mold growth, or water stains that might indicate leakage. Checking after heavy rain or snowmelt can also be beneficial.
Managing Humidity Levels in Your Basement
Humidity management is a significant component of preventing moisture problems. Use a dehumidifier if necessary to keep humidity levels below 60%. Installing vents or maintaining a consistent air circulation can also aid in reducing humidity. Monitor indoor humidity with a hygrometer, which can help you take action if levels rise too much.
Signs of Vapor Barrier Failure
Recognizing the signs of vapor barrier failure early can save you time and money. Look for signs such as:
- Visible water stains or damp patches on walls or flooring.
- Adverse smells often associated with mold or mildew.
- Condensation forming on walls during periods of high humidity.
- Warped or rotting structural materials like wood.
Benefits of Professional Vapor Barrier Installation
Reducing Long-Term Moisture Damage
By investing in professional vapor barrier installation, homeowners can significantly reduce the risk of long-term moisture damage. Professionals have the right tools and expertise to ensure that the vapor barrier is installed correctly. A properly installed barrier can prevent the growth of mold and mildew, extending the lifespan of your home and saving you money on potential repairs.
Improving Overall Air Quality
Inadequate moisture control can lead to unhealthy air quality in your home. Mold spores and pollutants thrive in damp environments. A well-installed vapor barrier minimizes the risk of mold growth, leading to improved air quality in your living spaces. This is particularly beneficial for individuals with respiratory conditions or allergies and contributes to overall better health for your family.
Enhancing Property Value and Comfort
A dry, well-maintained basement increases the overall value of a property. Home buyers tend to have favorable views on homes with basements that are free from moisture issues. Furthermore, a well-executed vapor barrier installation creates a comfortable environment, making the basement a more usable space and increasing the overall livability of your home.